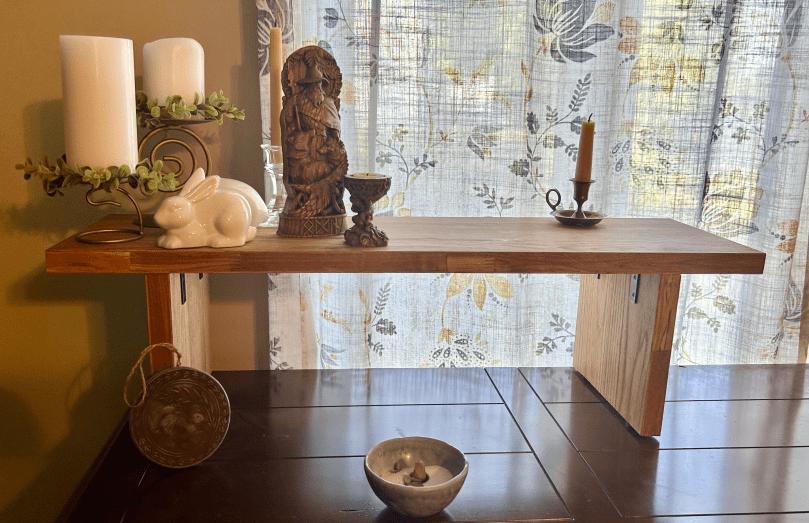
I’ve recently had a drive to spruce up my general altar space (this is separate from my area dedicated to Frig). One of the things I really wanted was a shelf to elevate certain items. I looked all over the internet, and nothing felt quite right. So, I decided to do a little DIY. Fortunately, I have a very handy husband who no longer asks questions and just breaks out the measuring tape.
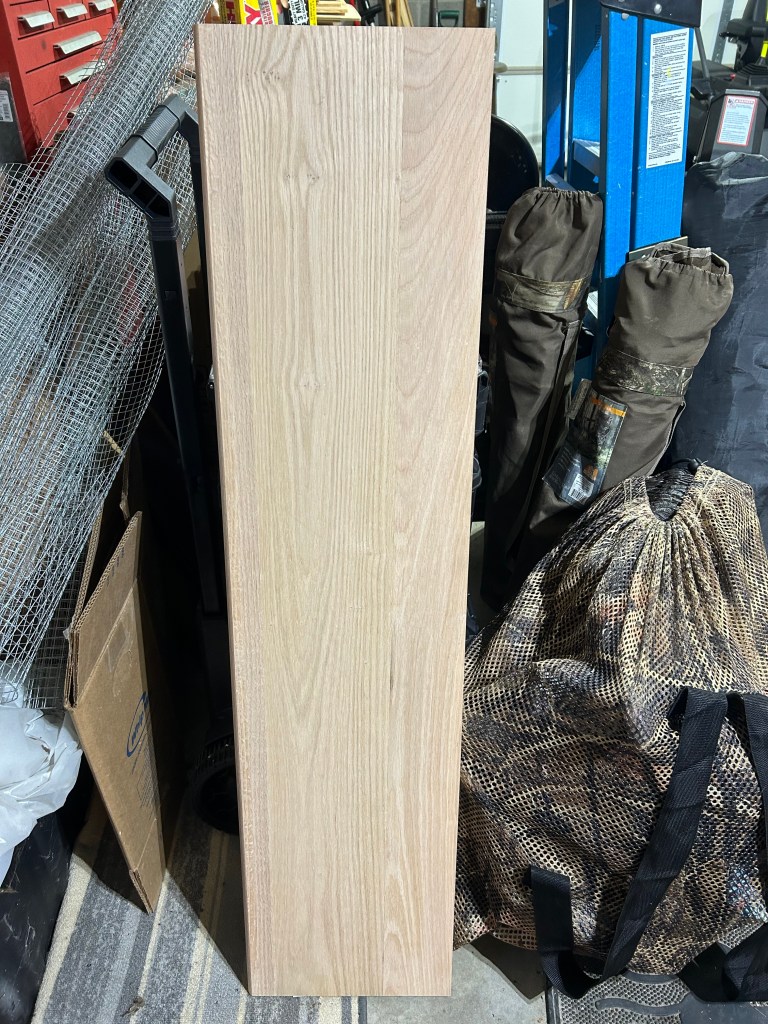
My first order of business was the wood. I did not want to make it out of pine or poplar, though I supposed I could have picked up an appropriately sized board at Home Depot. I was just starting to think I would have to go to a dedicated lumber store when I found this: a red oak stair tread.
Please ignore the camping chairs, bag of turkey decoys, hardware fabric, and other misc items in the picture. The garage really isn’t suited for photo shoots.
Is this the ideal material for building a shelf? Probably not. Was it easily accessible and easy to put in the backseat of my car? Absolutely.
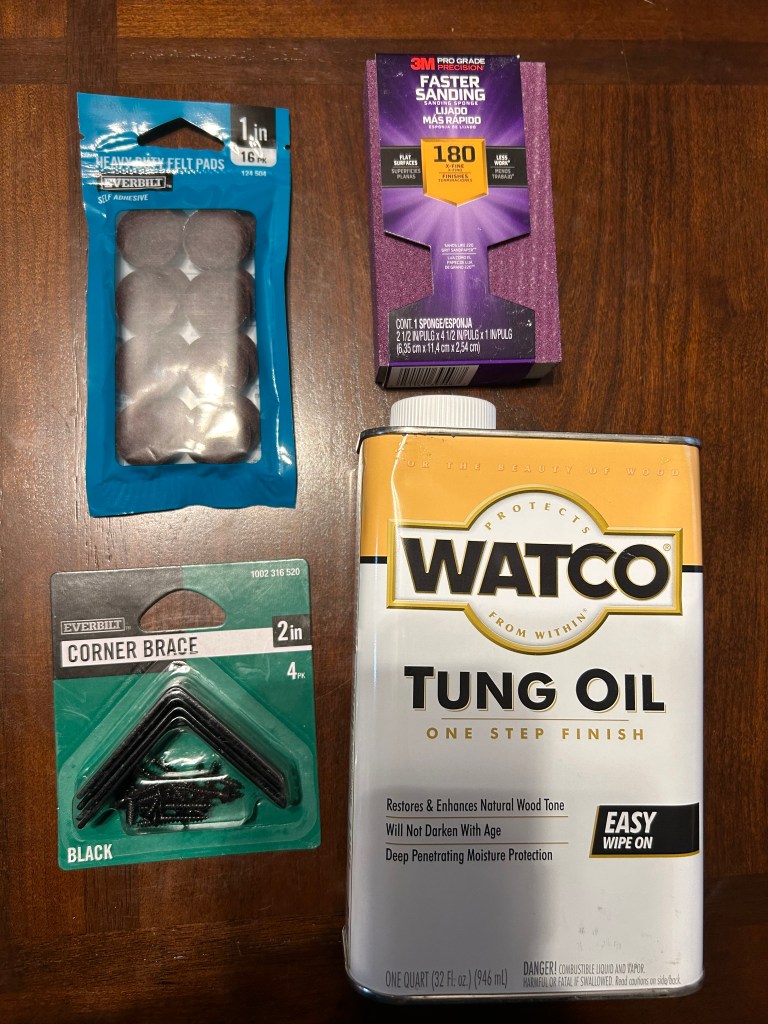
Here’s the full material list:
- 4′ red oak stair tread
- 4-pack of 2″ corner braces
- 1 pack of 1″ felt pads
- Fine sandpaper or sanding block
- Tung oil (or whatever finish you prefer)
And the tools we used:
- Table saw
- Chop saw
- Drill
- Electric sander
The space I wanted to put this in wasn’t really deep enough to accommodate the whole depth of the stair tread, so the first thing we did was rip it down to 9″ wide with the table saw. If you have the space for it, the rounded edge of the stair tread could actually make a nice front for the shelf. Alas, I do not have the space.

After that, my husband cut the legs from the main piece, measured at 7″ each. The remaining 32ish inches became the top piece. While he was doing that, I spot-tested how the tung oil would look on the scrap from step 1.
The chop saw burned the wood a bit, but I was able to get the marks off with the electric sander. I also used this to speed up the process of cleaning up the sharp edges of the cuts before finishing with very fine grit sandpaper.
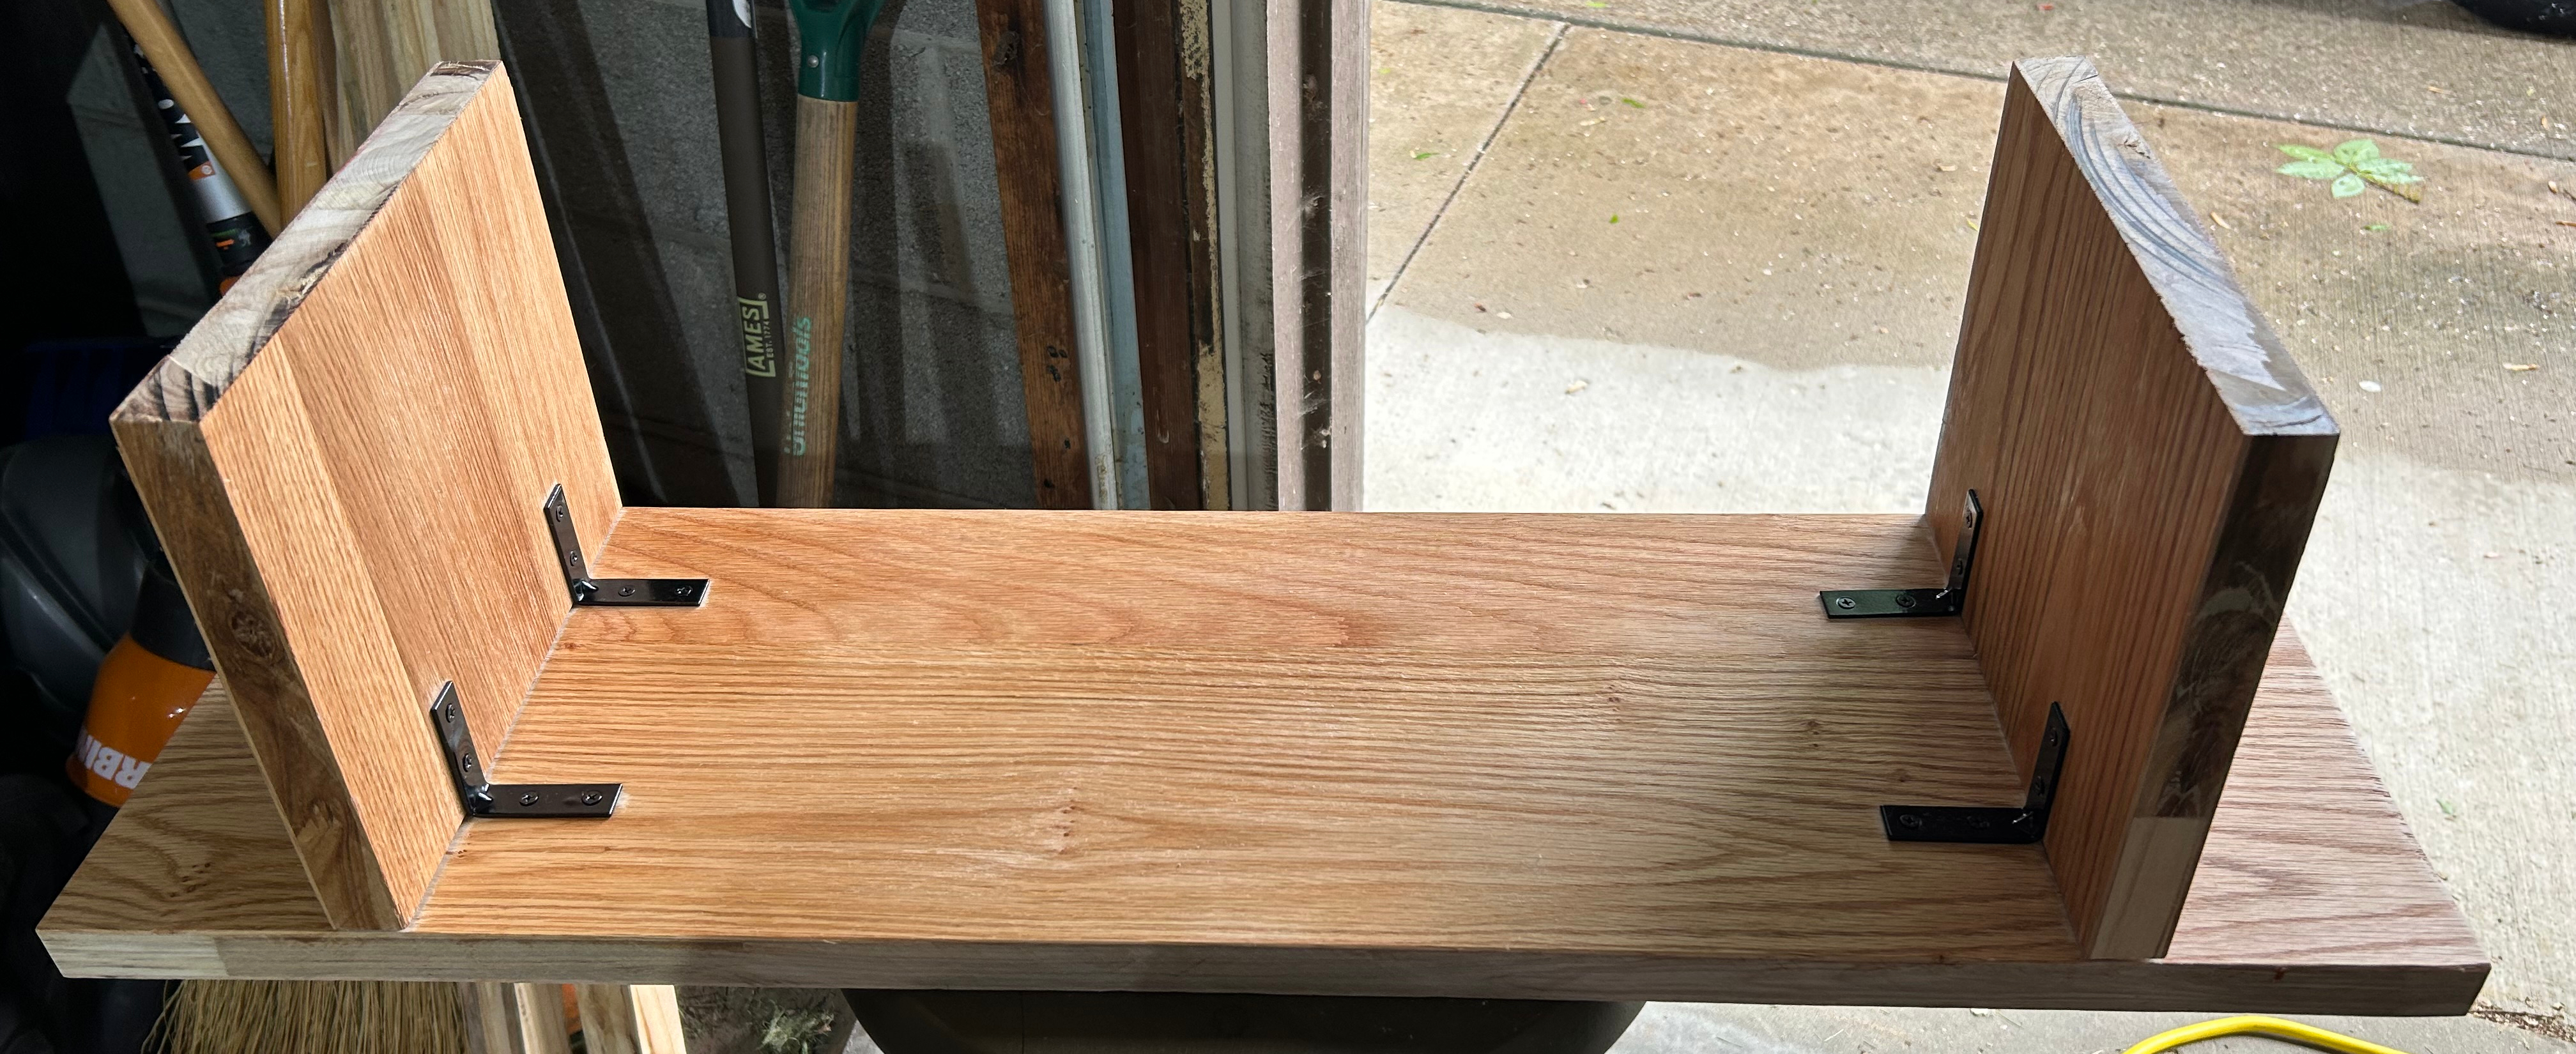
Then, it was time for assembly. I forgot to take pictures, but we measured 4″ in from each end and marked it. We then measured 2″ in along those lines on each side to mark where the braces would go. We placed a leg and a brace and marked the holes. Repeat for each brace.
Drill, baby, drill. Pre-drilling is important, especially since this is a hardwood. Hubby drilled all the holes, and then assembly began.
From there it was just a matter of rubbing on the tung oil and leaving it sit for 15 minutes before buffing it out. I let it cure for a day and then repeated the process and cured it one m ore day before adding the felt pads. And voila! A finished shelf for my altar space.
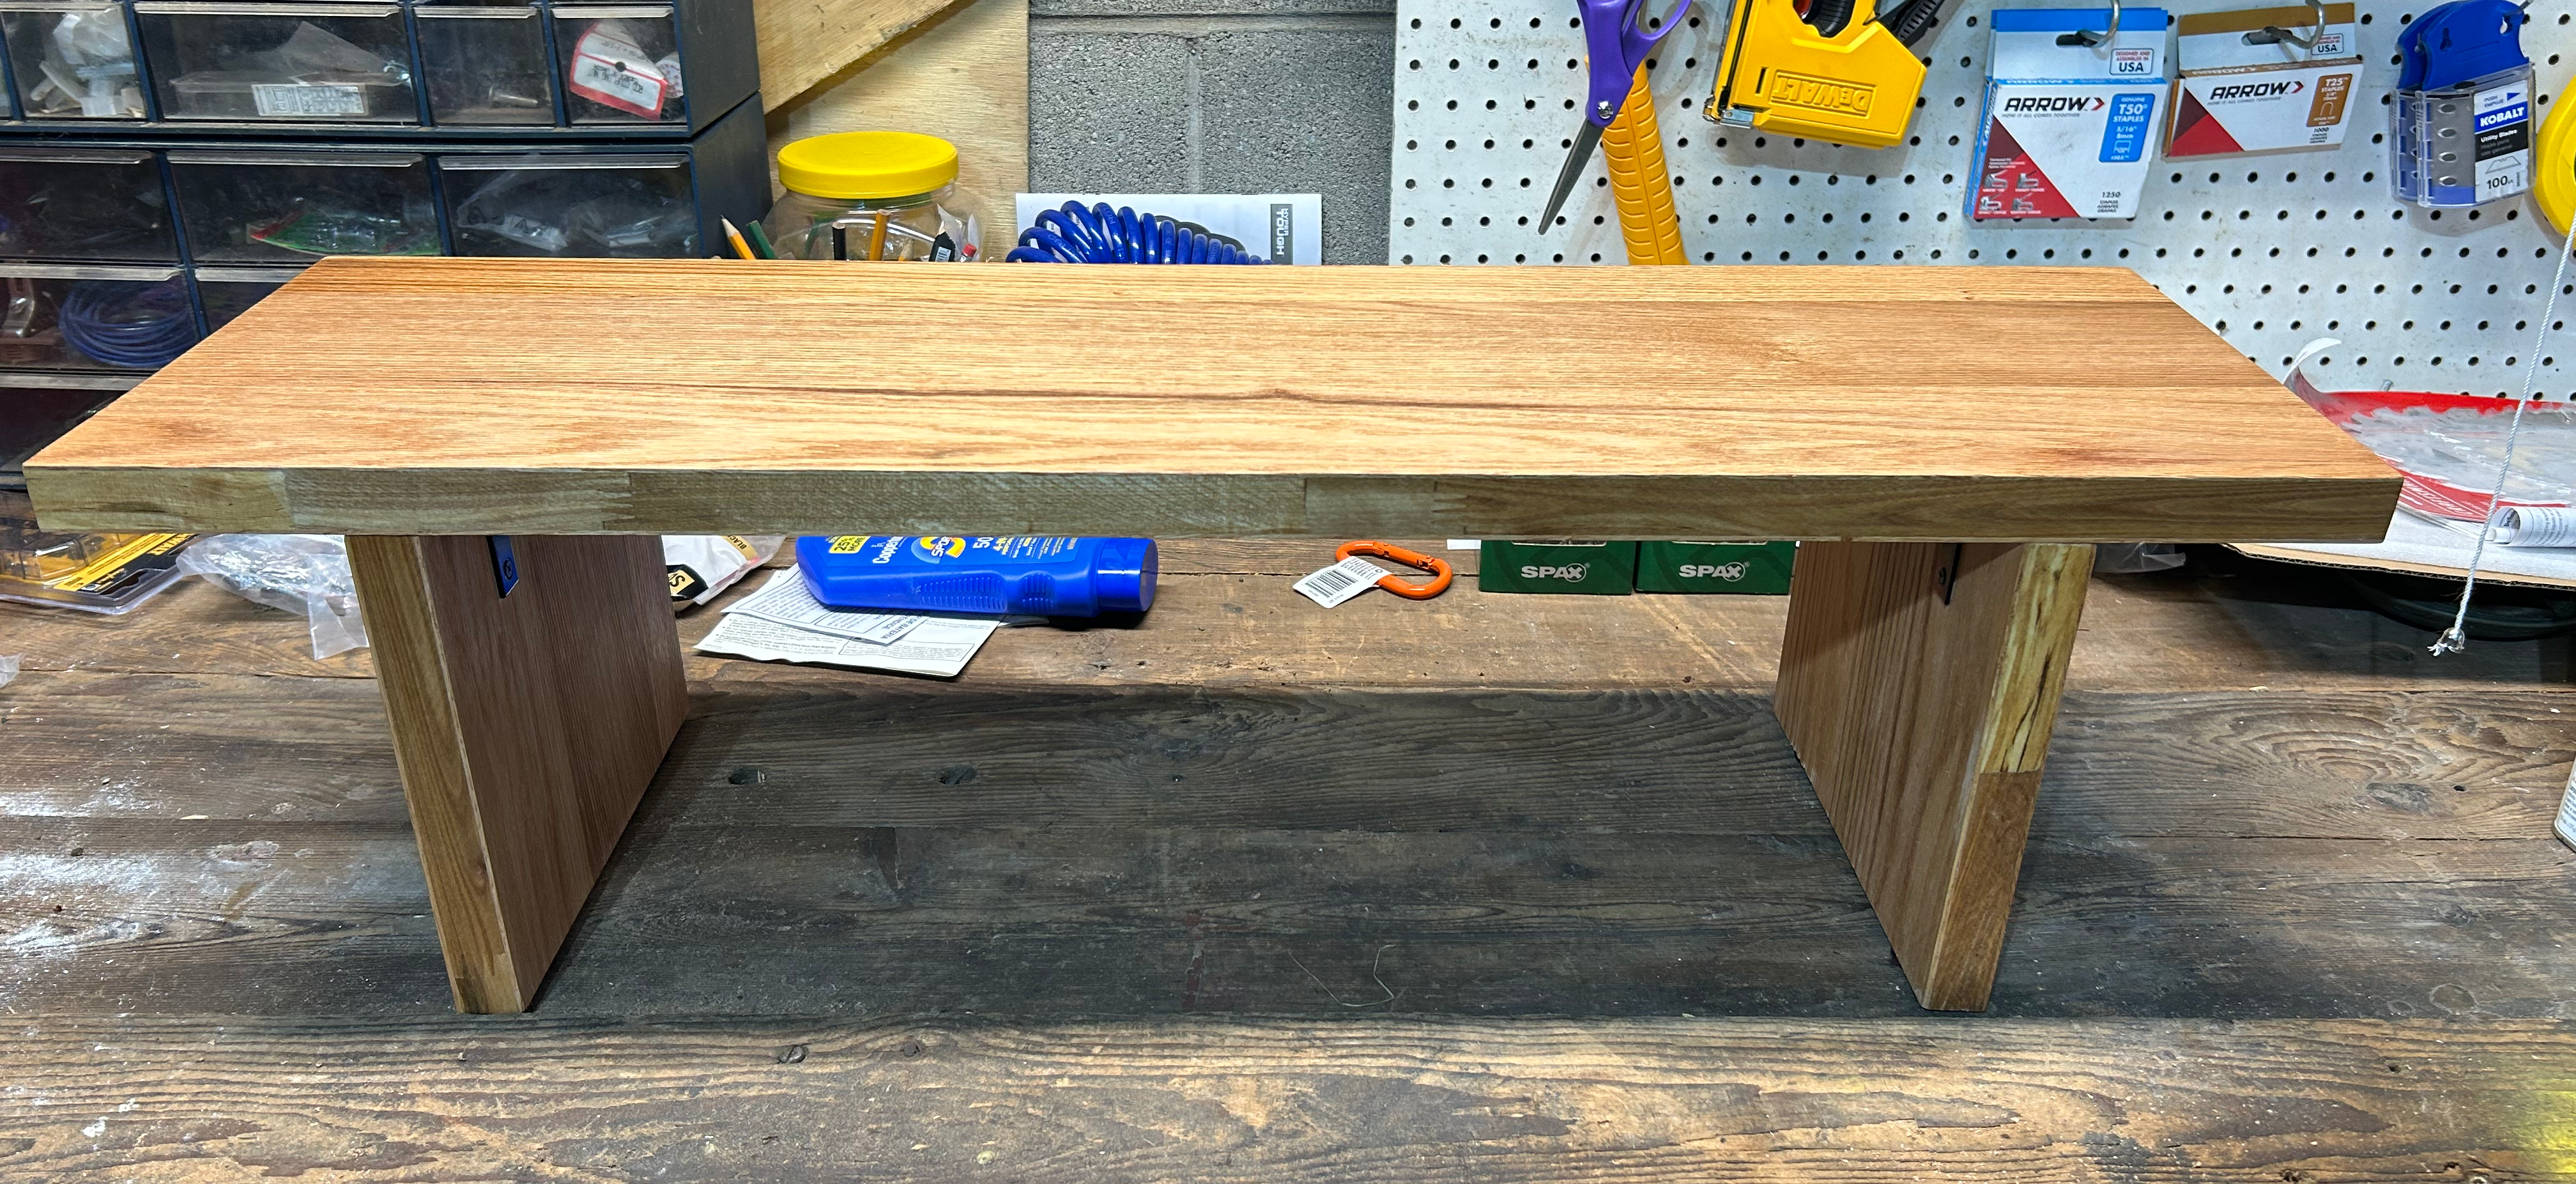
This was a really fun and gratifying project. The finished product is hardly perfect, but it was made with love and perfect for my needs. I’m looking forward to having this shelf in my sacred space for many years to come.
